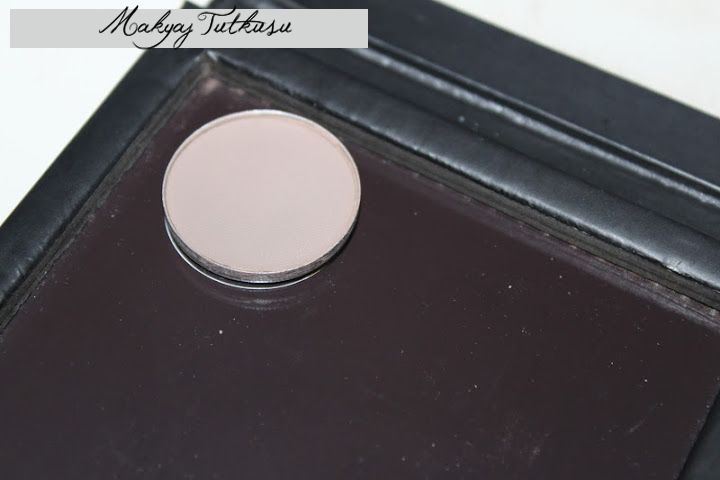
Merhaba arkadaslar! Bu yazimda size MAC (veya MAC'e benzer ambalaja sahip olan) farlari nasil depot, yani kutusundan cikarip palete yerlestirebileceginizi gösterecegim. Bu yaziyi eski blogumda da paylasmistim ve bircok kisinin isine yaradi, bu yüzden bu sefer de paylasmak istedim. Yalniz resimlerde eski blogumun linkini (passionistaa.blogspot.com) silip üzerine simdi ki blogun ismini yazdim, o yüzden biraz tuhaf durabilir. Yani baskasindan caldi diye düsünmeyin, ben cektim resimleri :D Her neyse, zaten cok resimli bir yazi, bir de dirdirimla sizi cok bunaltmak istemiyorum. Buyrun efendim!
Hello everyone! In this post I want to show you how to depot your MAC (or similar to MAC packaging) eyeshadow. I posted this on my old blog, so it still had my old blog's link on it (passionistaa.blogspot.com), which is why I had to cover it and write this blog's name on top, so that's why it looks a little weird. sorry for that. Don't think I stole it from someone, it's all mine^^ Anyways, this is a pic heavy post and I don't want to talk too much and make it boring for you, so here you go!
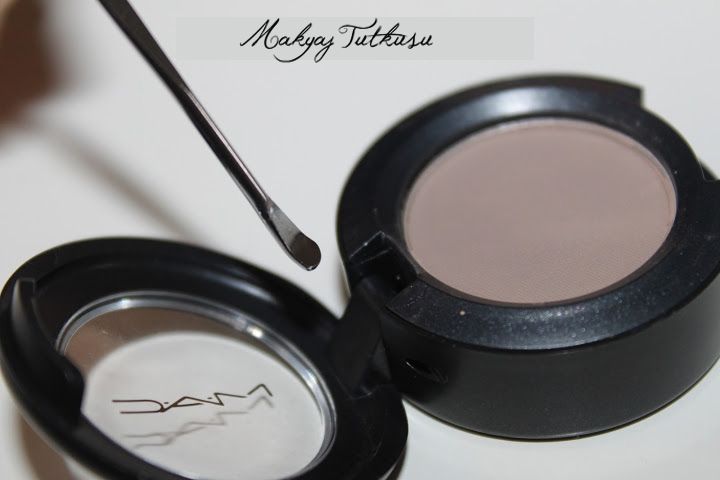
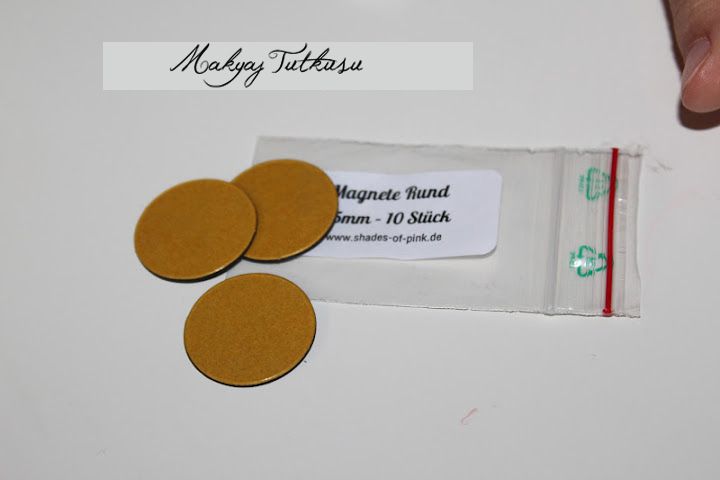
Lazim olan seyler bunlar: Depot yapilacak MAC fari, sac düzlestiricisi, cimbiz, sivri uclu igneye benzer bir sey (bicak da olabilir), manyetik ped ve manyetik bir palet.
Here's what you'll need: MAC eyeshadow, a flat iron, tweezers, a little thin and pointy ... something (a knife will do the job, too), round magnets, magnetic palette to hold your e/s.
Sac düzlestiricinizi acin.
Turn on your flat iron.
Farinizi hazir tutun!
Get your e/s ready!
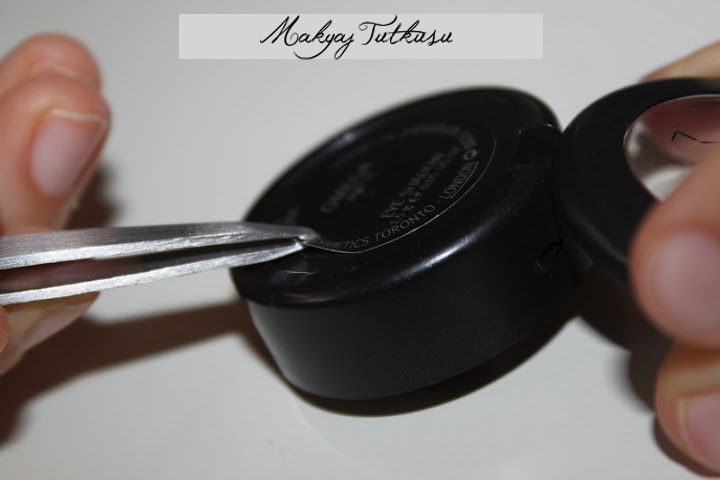
Ince igne gibi seyle farin arka tarafindaki bosluga girin ve biraz baski uygulayin. Yeterince bastirdiysaniz, o zaman far kendiliginden disari firlayacaktir.
Now, go in with the little needle thingy and put it into the little hole in the back of the eyeshadow pot, then push a little. If you push hard enough, the eyeshadow will pop out.
Iste böyle...
Like this...
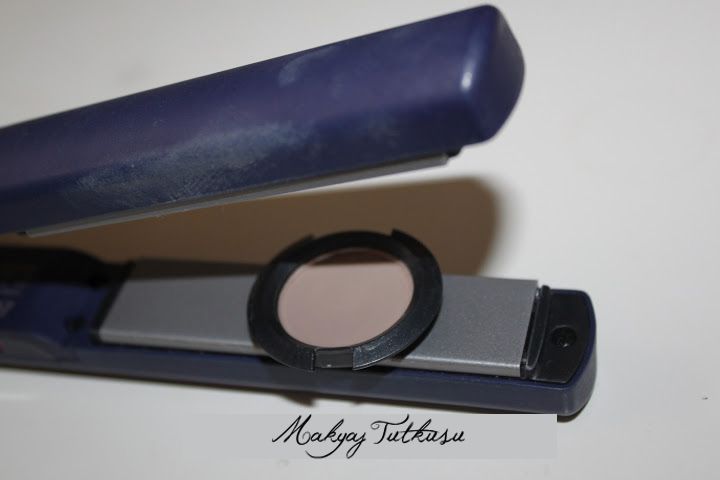
Simdi disari firlayan fari alip isinmi düzlestiricinizin arasina koyun resimde oldugu gibi. Elinizi yakmamaya dikkat edin. Eger yakarim diye korkuyorsaniz, o zaman düzlestirici ve farin arasina firin kagidi koyun.
Now put your eyeshadow in between your flat iron, but be careful not to burn your finger. If you want to be extra safe, put some baking sheet between the flat iron and the eyeshadow.
Farinizin alti plastikten yapildigi icin cabucak eriyebilir; bunu engellemek icin hafifce oradan oraya oynatin, yapisip kalmasin.
Because the black part is made of plastic, it can easily melt; so to prevent that, you have to keep moving the eyeshadow so it doesn't stick.
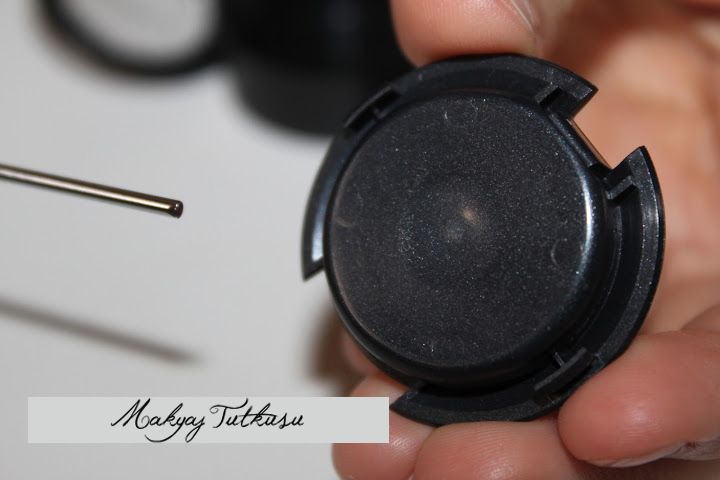
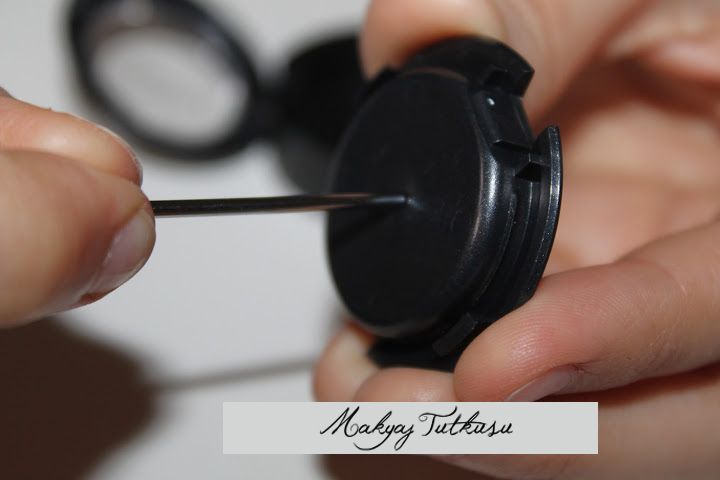
Yaklasik bir dakika sonra fari elinize alip o ince igne gibi seyle plastigin arkasindaki ortadaki noktaya bastirin. Biraz yumusamiz olmasi lazim. Bastirinca iyice icine girip far disari cikiyorsa, o zaman iyi, ama eger cikmiyorsa, o zaman tekrar dönüp biraz daha düzlestiricinin üstüne koyun. Benimkisi henüz hazir degildi, bu yüzden geri koydum düzlestiricinin arasina.
About a minute later remove it from the flat iron and try to push the little needle-like thing into the middle of the plastic back. It should be warm enough to push and for the pan to come out, but if it doesn't, then put it back in between the iron to warm it up a little more. Mine wasn't ready yet, so I put it back in the flat iron.
Simdi ayni seyi tekrar deneyin. Bu sefer bende oldu ve kolaylikla cikti disari gördügünüz gibi.
Now try the whole thing again. This time it worked for me and it came out effortlessly.
Bir cimbizla dikkatlice tutup cikarin. Bir kriminal olup da parmak izinizi yok etmek istemediginiz sürece elinizle dokunmayin :D
Take it out with a pair of tweezers. If you're not a criminal who wants to erase his fingerprints, then I don't suggest you to touch it with your fingers. :D
Yapiskani hala sicak oldugu icin yüz üstü koyun masaya.
Because the glue is still hot, put it face-down on a surface.
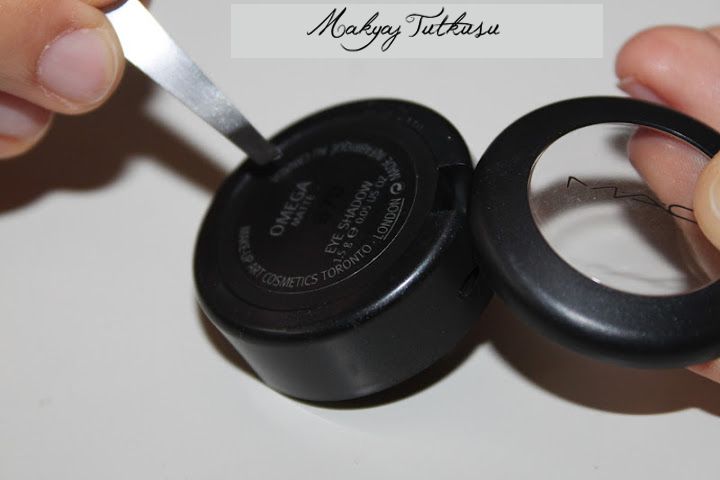
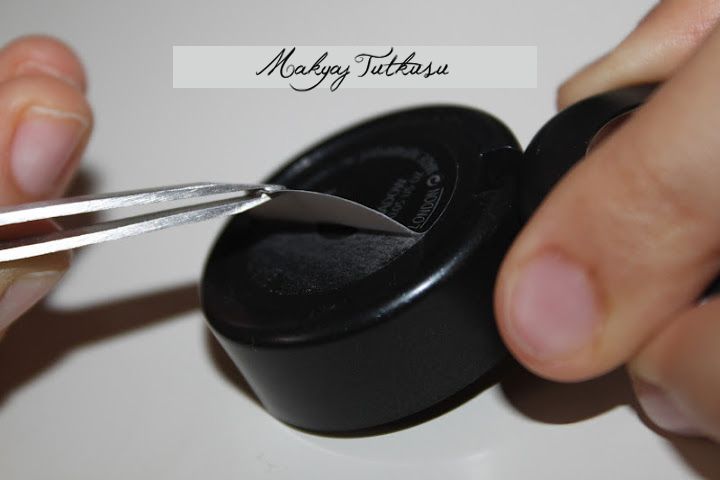
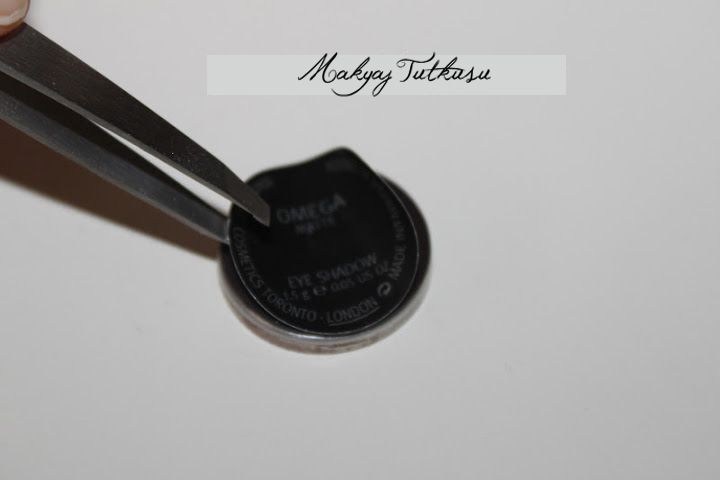
Yapiskanin sogumasini beklerken diger islere gecelim. Far kabinin arkasindaki yuvarlak yazili yapiskani farimin arkasina yapistirmak istedigim icin onu da düzlestiricinin arasina koydum ve yapiskaninin isinmasini bekledikten sonra stickeri ayirdim.
While we're waiting for the glue to cool off let's do some other things, like taking off the sticker at the back of the pot! Just put it under your flat iron and wait for its glue to become warm.
Cimbizla ayirin.
Take it off with tweezers.
Simdi bu kutu kaldi elinizde. Bunu Back 2 MAC yapabilirsiniz ve 6 tane kutu verdiginizde karsilik olarak bir ruj verirler size. Türkiye'de yapiliyor mu bilmiyorum ama. =/ Bir de bazi MAC elemanlari icinde o metal pot olmayan kaplari almiyorlar. Dikkat edin yani, bazilari giciklik yapabiliyor.
Now you have this empty pot left. You can collect 6 empty MAC containers and return it for a MAC lippie via Back 2 MAC, but some MUAs don't accept pots without the pans, so be careful who you ask.
Simdi yuvarlak yapiskan miknatislari alip sogumus olan farinizin arkasina yapistirin.
Now take your round adhesive magnet and place it on the back of the (now cool) pan.
Ardindan üzerine biraz önce cikardigimiz yazili yapiskani bastirin.
Now take the label sticker and stick it on top of the magnet.
Tadaaah! Bu kadar basit! Simdi de herhangi bir manyetik palete yerlestirin. MAC 15'li paletlere koyuyordum eskiden, ama Z-Paletlerin daha pratik oldugunu düsünüyorum simdi. Ayrca asagidaki resimde gördügünüz gibi hic disari da düsmüyor farlariniz. :-)
And now it's done! It's really simple, right? All you have to do now is put it in a magnetic palette, like the original MAC 15 palette or a Z-Palette like me. I personally prefer the Z-Palettes because they're smaller and fit more shadows, but it's totally up to you.
Umarim bu yaziyla size yardimci olabilmisimdir. Bir sonraki yazimda görüsmek üzere!
I hope this little tutorial was helpful to you. I'll see you in my next post!
- iheartsu
----------